Fermentation is a miracle that beer enthusiasts often subconsciously relegate strictly to the realm of beverage, when in reality, fermentation plays a part in the production of countless and diverse foods: Soy sauce, sour cream, pickles, and yogurt are a few common refrigerator staples that could not exist without microbiological activity that not only preserves, but imparts unique flavors, just as in the production of beer.
Perhaps one of my favorite fermented foods–as per my polish upbringing–is sauerkraut. Typical grocery store sauerkraut is often lackluster. In fact, some of your cheaper varieties are made by simply adding vinegar to salted boiled cabbage, and the real-deal kraut is usually flash pasteurized, leaving a somewhat tasty but dead product. Just as I prefer my beer to be a living product, teaming with live yeast and/or bacteria, so I would like prefer my sour cabbage. Thus being said, I have been fermenting my cabbage the old fashion way, just like my ancestors did…and let me tell you, the freshness factor makes the minimal amount of work that goes into it worthwhile.
In layman’s terms, here is how I make my sauerkraut:
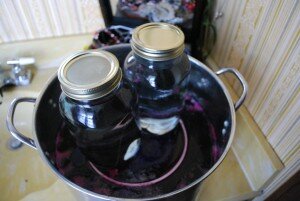
The tools needed are: A sharp knife, a fermenting vessel (pros will recommend a ceramic crock, but I just use one of my stainless steel boil kettles), and some sort of a weight (as you can see in the pictures a plate with a few mason jars filled with water work fine).
The ingredients needed are: Cabbage, sea salt. Yup. That’s it. Bacterial cultures are not necessary as they are naturally occurring on and between the leaves of cabbage.
To make sauerkraut, first one must slice the cabbage in thin slices (but don’t keep the core). I prefer mine a bit wider than the average store-bought sauerkraut. As I slice my cabbage, I put it aside in a pile. After all your cabbage is sliced (I use 3-5 heads, but if you use red cabbage you may want to use less as it is more dense and you will get a higher yield. After all your cabbage is sliced, you start adding it to your fermenting vessel a few handfuls at a time, sprinkling in some sea salt over top of each layer. The amount of salt used may vary to preference. I use a heaping 1/2 teaspoon per one pound of cabbage. After all the cabbage and salt is in the vessel, mix well and then tightly pack down and compress the mixture. This mixture must remain compressed, as your kraut will need consistent water coverage. You will not add any water, as the salt will pull the water out of the sliced cabbage through a process called osmosis. Within 24 hour you should see your cabbage covered in this watery solution called ‘brine.’
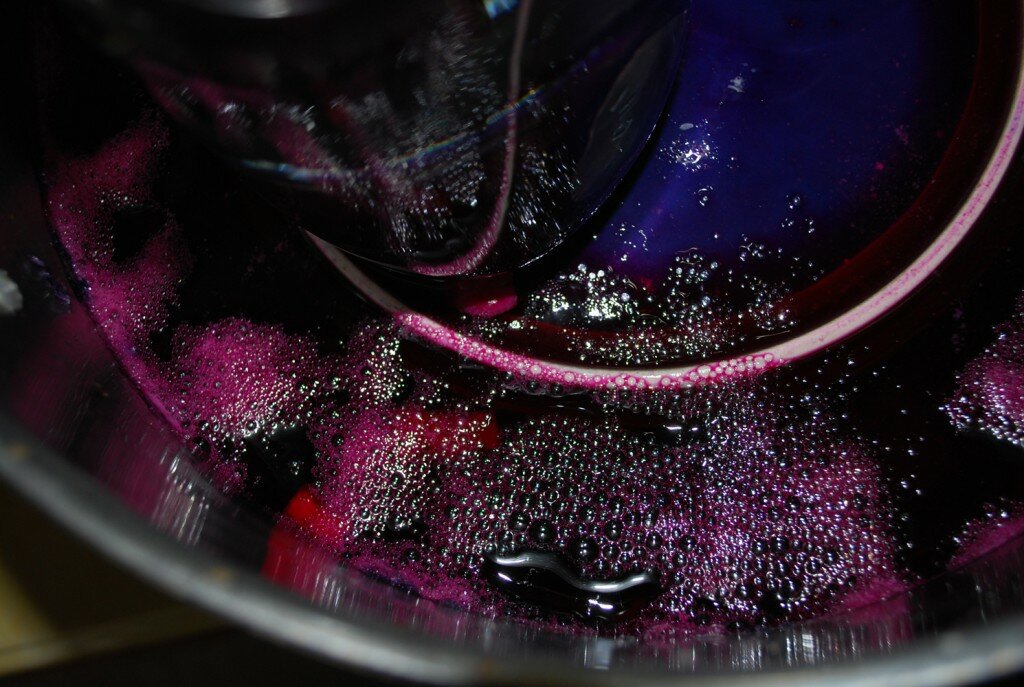
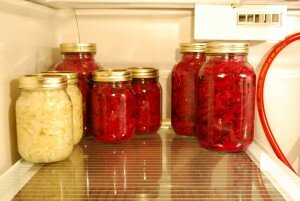
Now, you just wait and push your weight down every day or so as needed to keep the cabbage covered in brine. You will see foamy bubbles emerge when fermentation really kicks in. After about two weeks, a very delicious sauerkraut that far surpasses the stuff on the shelves a Walmart is ready to eat. I put my kraut in jars (but don’t pressure cook them…I want them to be an evolving product that gets more sour over time) and store in the fridge. I put apple chunks in one batch and it tastes fantastic.


Sauerkraut. One of our family’s faves. My children clamor for it. Question: does batch size impact overall flavor?
As regards store bought kraut, the only brand that I’ve found to be worth is is Bubbies. Excellent pickles, too.
[Reply]
nate Reply:
January 3rd, 2012 at 12:47 pm
My my second batch was twice the size of the first, the results were nearly the same…the only difference being a bit of a bready note, but I attributed this to the fact that the temp warmed up quite a bit in the initial stages of fermentation and my wife had the window open, so I’m guessing quite a bit of yeast did some work too.
[Reply]
Big Tex Reply:
January 3rd, 2012 at 3:21 pm
Well, we’ve done small batches… one cabbage at a time. And for the health benefits, it’s best to eat without exposure to heat.
[Reply]
My wife does kombucha too.
[Reply]
Im obliged for the article.Really looking forward to read more. Awesome.
[Reply]
Followed your instructions word-for-word. It’s been three weeks now and no fermentation or bubbles. What could be wrong?
[Reply]
nate Reply:
March 7th, 2012 at 8:33 am
Hey Alfredo,
I am not sure what’s going on. Have you tasted it? One of my fermentations had almost no bubbling but ended up SUPER tangy.
If you taste is an it just tasted like salty cabbage, then I’d say for some reason there is a lack of bacteria in the cabbage you chose. I try to get my cabbage organic…from a local farmer if possible that way I know there are plenty of ‘bugs’ in there. What temperature is your cabbage sitting at?
[Reply]
ALFREDO DI STEFANO Reply:
March 9th, 2012 at 9:33 pm
Thanks for the reply. Yes, the taste of the cabbage is salty though it is covered with the water.
The cabbage is sitting in the basement in the dark with very little sun light. The basement is not too warm but not cold either.
Should I throw this batch out since there may no hope here?
[Reply]
Michael Reinhardt Reply:
March 17th, 2012 at 11:52 am
Alfredo,
Hopefully you didn’t toss your kraut out just yet. It can take 1-4 weeks. Also, your temp should fall between 70-75 degrees…maybe the basement is a bit cool?
Did you weigh the cabbage down? Sometimes too much salt can keep it going slowly as well. I say give it this next week and see. Hope it turns out for you. Always another shot at it, too.
P.S. I just bought cabbge for $.17 a pound today…it’s the right price to give it another try if it doesn’t work out.
Mike
Yes, I throw this batch away. I gave up on it and I wanna try a new batch. I will report how it goes..
[Reply]
Man, that kraut looks good! We might have to try our hand at making up a batch of kimchi next time Jinah and I are stateside.
[Reply]
Eating first batch made in January of kraut used large long carrots/white cabbage, used too much Himalayan chystal salt, can’t eat it plain, fabulus if put in pot roast or roasted chicken the last 1/2 hour. The flavor is to die for.
Thanks for the the internet to axcess the info that is important.
[Reply]